
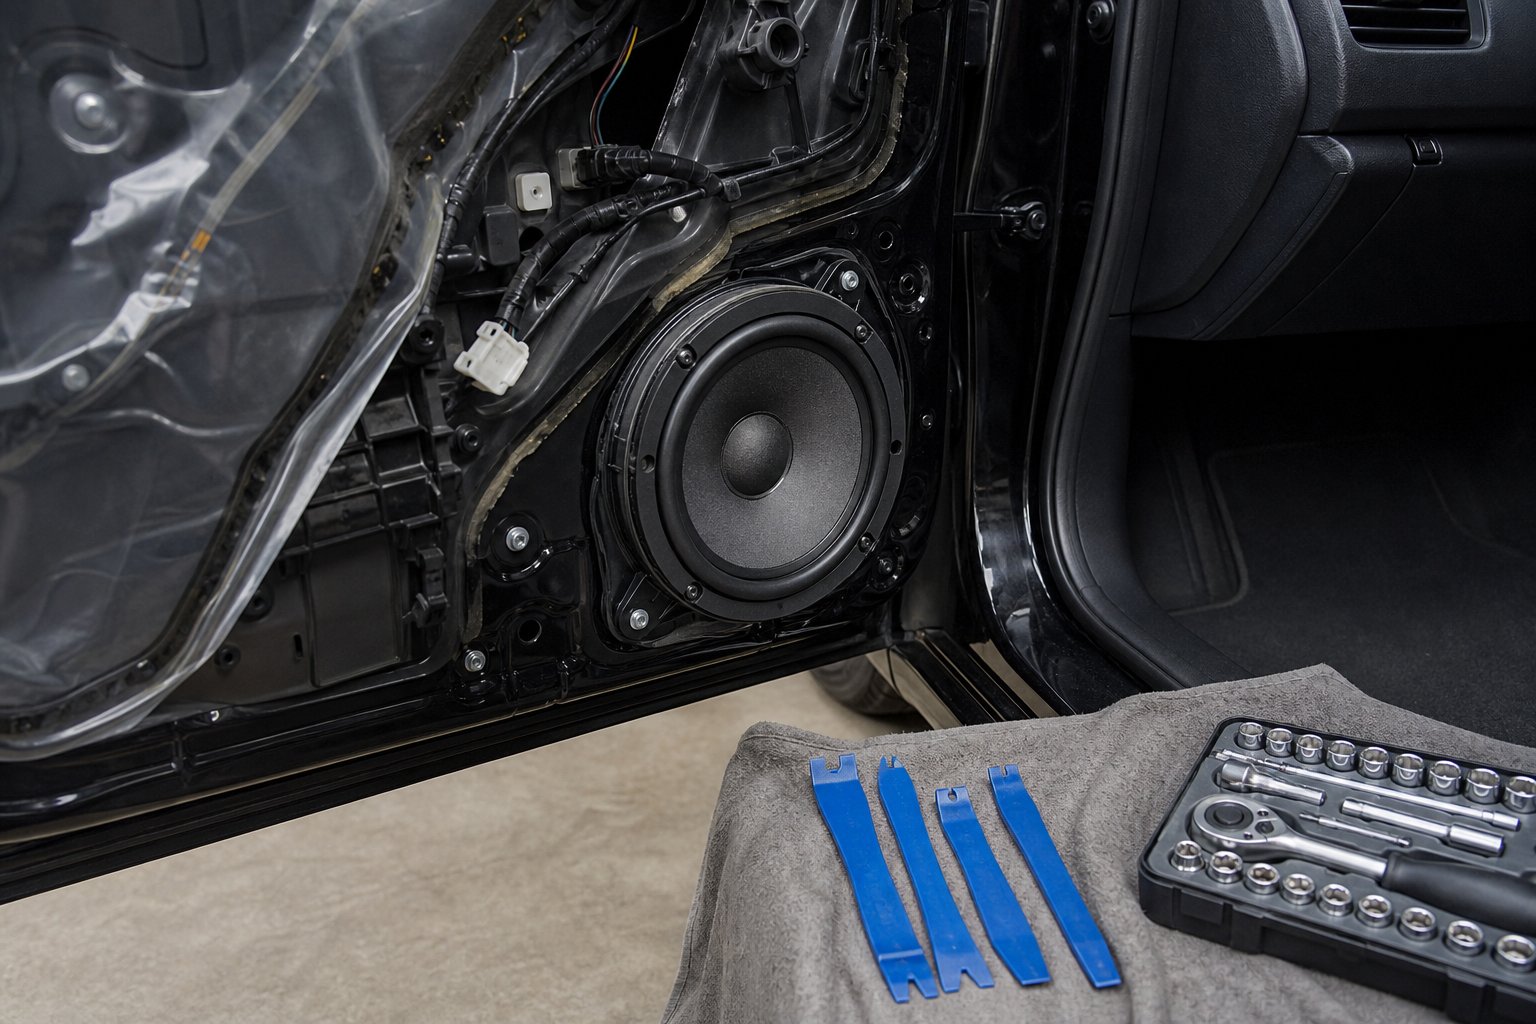
Speaker upgrades without a new head unit: the short answer
Yes, you can upgrade your car speakers without replacing the head unit. Whether it is actually worth doing depends on your budget, your factory system, and how much better you want it to sound.
A straight speaker swap will give you cleaner, less distorted audio from the same power. It will not give you significantly more volume. If volume is the goal, you need an amplifier in the chain too. If your car runs a premium factory system such as Bose, Bang and Olufsen, or JBL, the rules change again, and getting this wrong is expensive.
This guide works through three budget tiers and covers what to do, what to check first, and what will go wrong if you skip the prerequisites. All procedural steps here are drawn from secondary trade and retail sources, not verified against a specific vehicle in a workshop. Treat them as a framework, not a vehicle-specific walkthrough.
Prerequisites
Do these before you spend a penny on parts. Skipping any of them is how people end up with a bag of speakers they cannot use.
1. Identify your factory audio system.
Check the door grilles for brand badges. Bose, JBL, Harman Kardon, Bang and Olufsen, and Burmester all signal a premium amplified system. These systems frequently run on 2-ohm circuits rather than the standard 4-ohm setup, and finding a true 2-ohm aftermarket speaker is genuinely difficult. The badge alone does not tell you the impedance: the same brand uses different specifications across different manufacturers, models, trim levels, and years. Look up the impedance in the workshop manual or run your car through a retailer fitment tool before purchasing.
2. Know your head unit’s real output.
Most factory head units deliver roughly 10 to 18 watts RMS per channel. The peak figure printed on the dashboard or in the brochure is not usable for matching purposes. Always work with RMS figures.
3. Gather your tools.
You will need plastic trim removal tools, a Phillips screwdriver, flat-head screwdriver, Torx bits, a small socket set, a ratchet and extension bar, a clip removal tool, a flashlight, a small container for screws, and work gloves. Metal screwdrivers will mark painted surfaces and leave permanent impressions in interior plastics.
For Tier 2, add a digital multimeter capable of reading AC voltage.
4. Check for side airbags in the door card.
This is safety-critical and vehicle-specific. Many modern cars route side-impact airbag wiring through the door card. Check a make-specific workshop manual or ALLDATA before removing any door panel. If you are not certain, a professional fitting is the safer call.
5. Source a wiring harness adapter.
Do not cut the factory loom. Wiring harness adapters bridge aftermarket speaker terminals to the factory wiring, keeping the install reversible and the factory loom intact. Metra, Connects2, and Autoleads adapters are available at Halfords.
Steps by budget tier
Tier 1: Speaker swap only (roughly £50 to £200 in parts)
This is the entry point. You are replacing thin paper-cone factory speakers with aftermarket drivers built from better materials. The result is greater clarity, richer mid-tones, and tighter bass from the same amplification.
Step 1: Choose speakers with a sensitivity rating of 90 dB or above.
Sensitivity is the single most important spec when you are working with a low-power factory head unit. A speaker rated at 92 dB will play roughly twice as loud as one rated at 89 dB on the same power. On 18 watts per channel, that gap is the difference between a meaningful upgrade and a speaker that never opens up.
Step 2: Choose coaxial or component depending on your goals.
Coaxial speakers combine the tweeter and mid-range driver in one unit, making them a straightforward drop-in fit. Component speakers separate the two drivers, which improves sound staging and imaging but requires routing tweeter wires to a separate mounting location. Coaxials are the practical choice for most Tier 1 installs.
Step 3: Remove the door card.
Start from the bottom and sides. Many door cards hook into the window belt line at the top: pulling the whole panel directly toward you will damage the upper retaining edge. Work the clips loose progressively. Source replacement clips before you start, because brittle plastic retaining clips snap easily under uneven pressure and cause permanent rattles once the panel is refitted.
Step 4: Treat the door and fit the speaker.
Before bolting the new speaker in, apply constrained-layer sound deadening to the outer door skin. The thin sheet metal behind the speaker spans a large void, and when the speaker moves air, the panel moves with it, creating rattle that reads as distortion. Fit a closed-cell foam speaker baffle at the mount point. In the UK climate, moisture ingress into door cavities is a real problem: the baffle acts as a protective layer over the driver and reduces muddy sound after wet weather.
Step 5: Connect using the harness adapter and refit the panel.
Plug the harness adapter to the factory connector, connect the speaker leads, confirm polarity, and refit the door card from the top down.
Tier 2: Speakers plus small external amplifier via LOC (roughly £150 to £400 in parts)
This is where you actually gain volume. A Line Output Converter taps into the factory speaker wires and converts the signal to an RCA output, allowing an external amplifier to be added without cutting dashboard wiring.
Before buying a LOC, measure your factory system’s output voltage. Set a digital multimeter to AC voltage, probe the positive and negative speaker leads at a door speaker while music plays at roughly 75 per cent head unit volume, and note the peak reading. Factory speaker outputs range from around 2V on a passive OEM radio to 40V RMS on a premium amplified system. If the reading exceeds 8V, you need an active LOC. If it tops 15V, you need a converter rated for premium factory amps with built-in clipping protection.
For amplifier selection and sizing at this tier, see our guide on whether you actually need a dedicated car amp.
One critical point on gain: running the head unit at maximum volume without enough amplifier headroom causes clipping. Clipping forces the audio waveform to square off, pushing constant DC current through the speaker voice coil, generating heat that melts it. Set amplifier gain correctly from the start.
Tier 3: Speakers plus DSP plus amplifier (£400 to £1,000 and above)
This is the correct path for any car where the factory head unit cannot be replaced without breaking other systems: CAN-bus-integrated touchscreens, steering wheel controls tied to the radio, and factory amplified systems that cannot be cleanly bypassed all fall into this category.
A Digital Signal Processor accepts the high-level speaker signal from the factory head unit or factory amplifier, reconstructs a clean stereo signal internally, and then applies time alignment and full EQ control. Most factory radios use baked-in equalisation that rolls off bass as volume rises, to protect cheap paper speakers. A DSP strips that processing away and provides a flat, controllable signal. The Audison Bit series is a commonly cited example in the UK installer community.
This tier is not a weekend beginner job. If you are not confident reading wiring diagrams or measuring signal voltages, have it installed professionally.
Verification
After any tier of install, check the following before calling it done.
Play a variety of music at increasing volume levels up to about 80 per cent of head unit maximum. Listen for distortion, rattle, or buzzing. Distortion at moderate volume that was not present before usually points to a polarity error or a grounding problem. Rattle that changes with bass content points to an untreated door skin or a clip that did not refit correctly.
For Tier 2 and above, check for alternator whine: a high-pitched whine that rises and falls with engine revs. Almost all cases trace back to a poor ground connection or two grounds at different reference potentials. Use a single common ground point, as short as possible to bare chassis metal.
Troubleshooting
Distortion at high volume. You are running the head unit too hard for the available amplification. Add an amplifier, or reduce volume and adjust tone controls.
Muddy sound after rain. Moisture has entered the door cavity. Fit closed-cell foam speaker baffles if you have not already. Consider waterproof-rated speakers if the car is used year-round in wet conditions.
No sound from one speaker. Check polarity at the harness adapter connection. Check the factory wiring for the relevant channel at the head unit connector.
Alternator whine. Locate and re-do the ground connection for the amplifier or LOC. All grounds in the system should share a single chassis point.
Door card rattle after refit. A clip has not seated or the outer door skin is resonating. Remove the card, replace any broken clips, and add deadening to the outer skin if not already treated.
Speaker blows shortly after install. Most likely a clipping issue from gain set too high, or an impedance mismatch. Verify the impedance of both the speaker and the factory system. Check your gain structure.
Related notes
Peak-power wattage figures printed on speaker packaging are not a reliable matching tool. Always use RMS figures for both the speaker and the amplifier.
Do not infer impedance compatibility from a brand badge alone. The same audio brand appears across many vehicles with different impedances, signal paths, and amplifier configurations depending on the manufacturer, year, and trim. Always verify against the workshop manual or a fitment guide for your specific car.
No specific UK-market vehicle impedances were individually confirmed during this research. The procedural steps above are drawn from secondary trade and retail sources, not tested on a particular car. If your vehicle has an unusual factory setup, take independent advice before buying parts.
A speaker swap alone is a worthwhile upgrade if you choose drivers with sensitivity at or above 90 dB and match impedance correctly. It is not the final word for anyone wanting serious SPL gains. For that, you need amplification in the chain, and at Tier 3 complexity, a DSP is often the only clean way to get there while keeping the factory head unit.