
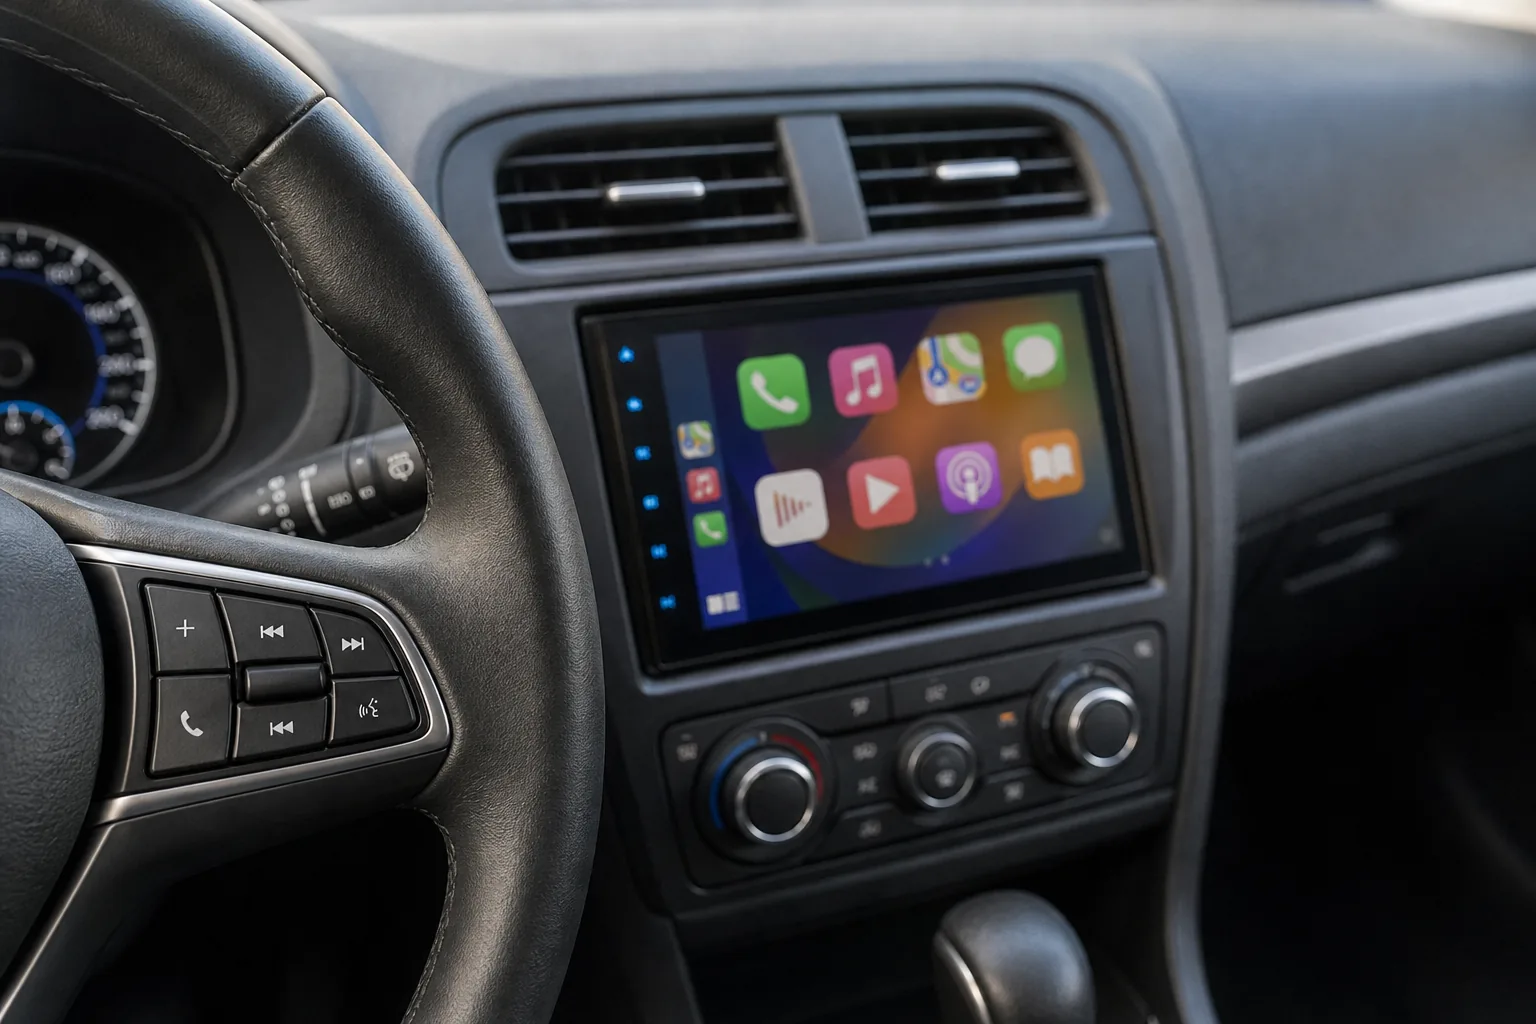
You can keep your buttons. Here is how.
Fitting an aftermarket stereo does not have to mean losing your steering wheel controls or blanking out your factory display. A small wiring module sits between the car’s network and the new head unit, translates the signals, and your buttons carry on working as normal. Get the right module for your vehicle and head unit, wire it correctly before you apply power, and the job is straightforward. Get it wrong and you are left with dead buttons, distorted audio, or a blank screen where your parking sensors used to live.
This guide covers what you need, in what order, and what goes wrong.
Prerequisites
Work through this list before you buy anything. Skipping it is the single biggest cause of wasted money on this job.
1. Identify your vehicle’s signal type.
Your steering wheel controls communicate via one of two systems. Older and simpler vehicles use an analogue resistive circuit: each button sends a different resistance value down a single wire. Most European cars from around 2007 onwards use CAN Bus, a digital network protocol. VW Group, BMW, and Mercedes all use CAN Bus. You need to know which one your car uses before selecting any hardware, because the adapters are not interchangeable.
2. Confirm your new head unit has an SWC input.
The new stereo needs either a 3.5mm steering wheel control jack, a dedicated two-wire SWC input, or iDatalink compatibility. A head unit labelled “steering wheel control ready” does not mean it works without an adapter. It means it has the input pin. The adapter is still required.
3. Check whether your car has a factory-amplified audio system.
If it does, you will need a separate amplifier retention interface in addition to the SWC adapter. Without one, the new head unit sends a full line-level signal into a system designed to receive a pre-amplified signal. Audio comes out weak or distorted. The SWC adapter does not fix this.
4. Know your trim level and factory system.
Vehicle-specific adapters are not always universal across a model range. Whether a factory feature can be retained depends on the vehicle year, make, model, trim level, and the factory system fitted. A 360-degree camera or a Bose/Burmester system often requires an additional dedicated interface on top of the standard SWC adapter.
5. For iDatalink Maestro SW users: you need a Windows PC.
Programming the ADS-MSW requires a USB connection and a Windows-based computer. This is a hard requirement documented by iDatalink. You cannot load firmware from a phone or a Mac.
Tools required: trim removal tools, multimeter, screwdrivers, wire crimps or solder and heat shrink, USB cable (Maestro SW only).
Steps
Step 1: Identify the correct adapter for your vehicle
For VW Group vehicles, the Connects2 CTSVW002.2 is the vehicle-side CAN Bus SWC interface. It uses a Quadlock connector and retains phone buttons alongside audio controls. It is sold as two parts: the vehicle interface and a head-unit-brand-specific patch lead. Both parts must be ordered to match your specific head unit brand. Ordering the wrong patch lead is a documented failure point.
For Audi, the Connects2 CTSAD00C.2 covers non-amplified, half-amplified, and Bose-amplified systems with ISO and Quadlock leads included. It was priced at £69.99 at time of research, though stock availability fluctuates.
For Skoda, the CTSSK002.2 covers all Skoda models from 2005 onwards via 40-pin Quadlock and Fakra connectors. It also provides switched live, illumination, speed pulse, and reverse outputs, which simplifies the rest of the stereo installation. It was priced at £64.99 at time of research.
If your vehicle is not covered by a specific adapter, the Connects2 UNI-SWC.3 handles both CAN Bus and analogue vehicles and works with almost every SWC-compatible head unit. It is the universal fallback, but a vehicle-specific module is preferable where one exists.
For Ford Fiesta, Transit, and Transit Custom models from 2018 to 2024 with a 32-pin connection, and for various Mercedes models including those with factory e-call emergency systems, Incartec supply vehicle-specific interfaces that retain the relevant OEM functions.
Step 2: Connect the patch lead before applying power
This is the step most people get wrong on Connects2 VW-range installs, and it causes the single most common failure. The official fitting guide is explicit: the patch lead between the interface module and the head unit must be connected before power is applied to the interface. If you connect the patch lead after powering up, the SWC function will not initialise. You will need to disconnect power, fit the patch lead, and reconnect.
Follow this practice on every install, not just VW. Get the module fully wired before you switch anything on.
Step 3: Ground the interface module correctly
The interface module must be grounded to bare chassis metal, not to the radio’s own ground wire. Grounding to the head unit ground introduces CAN Bus interference, which causes erratic button behaviour. Find a bolt going to bare metal on the dashboard subframe or a nearby body panel, scrape back any paint or coating, and connect the module ground there.
Step 4: Load firmware (Maestro SW only)
If you are using the iDatalink ADS-MSW, connect it to a Windows PC via USB before fitting it in the car. Follow the web-based firmware tool at idatalinkmaestro.com to select your vehicle or build custom firmware for vehicles not on the coverage list. The step-by-step web procedure handles most unlisted vehicles. Once the firmware is loaded, the module is ready to install.
Step 5: Fit the head unit and test
Reassemble the dash to the point where the head unit is connected but the trim is not fully clipped in. Power on and test every steering wheel button. Check volume up, volume down, track forward, track back, and any phone or voice buttons. Confirm each one triggers the correct function on the new head unit before you push the trim home.
If you have an iDatalink Maestro RR and want to retain OEM display data such as tyre pressure readouts and vehicle information, note that advanced display features only work with iDatalink-compatible Alpine, JVC, Kenwood, Pioneer, or Sony head units. The Maestro RR retains basic SWC and navigation outputs with most radios, but the deep screen integration requires one of those specific brands.
Verification
With the car running, work through every steering wheel control button and confirm the response on the head unit. Check that the display shows the correct function when each button is pressed. If you have retained parking sensor visuals or climate data on the new screen, trigger the parking sensors and adjust the climate controls to confirm the feeds are live.
If your car has a factory amplifier and you fitted a retention interface, play audio at low, mid, and high volume and check for distortion or unexpected attenuation. Distorted or weak audio at this stage points to an incorrectly wired amplifier interface or the wrong adapter for your system.
Troubleshooting
No SWC function at all. On VW-range Connects2 installs, this is almost always the patch lead being connected after power was applied. Disconnect the interface from power, connect the patch lead, reconnect power. The manufacturer fitting guide documents this failure mode specifically.
Erratic or random button responses. Check the ground. The interface module needs to be grounded to bare chassis metal, not the head unit ground wire. Re-ground it correctly and retest.
Buttons freeze or lock up during use. Remove the power plug from the interface module, wait a few seconds, and reconnect. This resolves most lockout conditions.
SWC not working on an Android head unit. Many Android units require you to manually select the CAN Bus protocol in the factory settings menu. Cycle through the available protocol options until the buttons respond correctly.
Advanced display features missing with Maestro RR. If tyre pressure, vehicle data, or infotainment displays are absent, the head unit is not iDatalink-compatible. Only Alpine, JVC, Kenwood, Pioneer, and Sony units with iDatalink support will carry these features through.
Distorted or weak audio. This indicates a factory-amplified system without an amplifier retention adapter. Add the correct amp integration interface for your vehicle. The SWC adapter alone will not fix this.
Wrong patch lead ordered. The Connects2 two-part system requires the vehicle interface and the patch lead to match both the vehicle and the head unit brand. Return the incorrect lead and verify the correct part number against the Connects2 compatibility tool before reordering.
Related notes
MOT position. The MOT VT29 checklist covers the steering wheel and column as physical components, headlamp aim, and power steering. There is no MOT test item covering whether steering wheel audio controls function. The modification should not cause an MOT failure on that basis. That said, an MOT pass does not confirm the modification is compliant with manufacturer specifications or that it has no bearing on your insurance position. Notify your insurer of any electrical modification.
Northern Ireland. MOT testing there is administered by the DVA under a separate regime. The VT29 checklist applies to Great Britain only.
Factory display complexity. If your factory radio hosts climate controls, vehicle chimes, or navigation as integrated functions, those are harder to retain and in some cases impossible without a vehicle-specific infodapter module. Modern vehicles often integrate these features so deeply into the factory radio that a basic SWC adapter will not touch them. Research your specific vehicle before assuming everything transfers across.
iDatalink UK availability. The Maestro RR and SW are widely stocked in the UK, but pricing was not confirmed at a primary UK retailer within the research window. Verify current pricing and stock before ordering.
Pricing note. All prices stated here were confirmed at UK retailers in October 2026. Stock levels change and prices move. Verify before ordering.
If you are looking at builds that push the boundaries in other areas, our guide on underglow and aftermarket lighting covers the legal position on exterior modifications with the same level of detail.